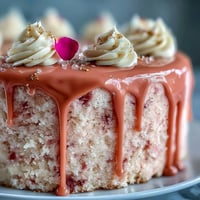
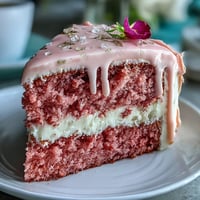
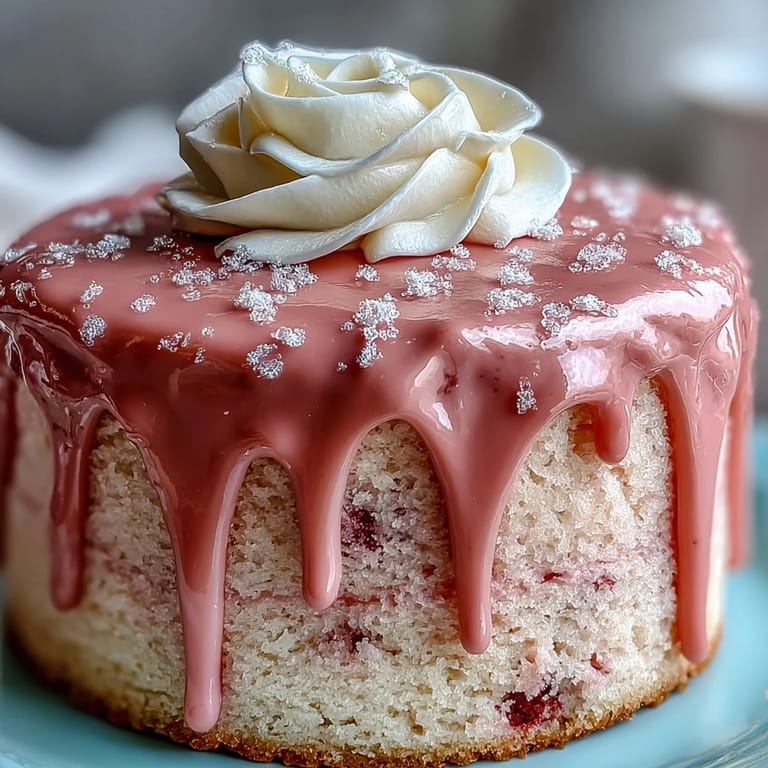
 Pin it
 There was a time I tried to match the mood of a late-spring afternoon with a cake, and that led to this Rosé Velvet beauty. I remember the way the kitchen filled with the gentle sweetness of rose-tinted batter on a sunny Sunday, the soft fizz of rosé wine humming as I poured. Mixing in edible gold felt like painting a secret and, at that moment, even the music on the radio sounded celebratory. There's a kind of joy in creating a cake that's more than dessert: it's centerpiece, icebreaker, and edible memory rolled into one. For me, it was all about the shimmer and the thrill of doing something so unapologetically fancy for once.
When I baked this for my best friend’s bridal shower, the room went silent for a second as the cake appeared, then everyone suddenly reached for their phones to capture its glow. There was laughter as we tried not to smudge the gold with our forks, but mostly it was about sharing something that felt just a bit magical for such a big day. Even the bride, who claimed not to like desserts much, asked for a second slice. That memory makes me smile every time I dust luster onto white chocolate. The kitchen, for once, felt like a jewelry shop instead of a typical mess of bowls and measuring spoons.
Ingredients
- All-purpose flour: It gives a sturdy but tender crumb; sifting ensures the cake stays light and elegant.
- Granulated sugar: Sweetens just enough without overshadowing the delicate rosé flavor—sifting removes pesky lumps.
- Baking soda: Key for just the right lift; check it’s fresh or your cake might fall flat.
- Fine salt: Brightens and balances, making every nuance of flavor pop.
- Cocoa powder (unsweetened): Just a hint deepens the pink hue and rounds out sweetness—no more, no less.
- Vegetable oil: Keeps the cake moist and plush, even after chilling.
- Large eggs: Room temperature eggs blend smoother and lead to airy layers—it’s worth the wait.
- Buttermilk: Adds a subtle tang and unbeatable tenderness—don’t be tempted to swap regular milk.
- Rosé wine: Portrays a subtle floral note; dry or sparkling work well, just don’t use anything too sweet.
- Vanilla extract: Bloom the personality of the cake with real vanilla, not imitation.
- White vinegar: Ensures pink vibrancy and moisture; the classic velvet cake secret.
- Pink or rose gel food coloring: Achieves that signature blush—gel is best for intensity without thinning the batter.
- Unsalted butter: For buttercream, go room temp for easier whipping and fluffy results.
- Powdered sugar: Sifted, it creates a silk-smooth buttercream; don’t skip the sifting.
- Heavy cream: Makes the gold drip decadently glossy but manageable for pouring.
- White chocolate chips: Pick a brand you love to eat; flavor does come through in the final drip.
- Edible gold luster dust: Absolutely must be edible—choose one with your favorite undertone for maximum drama.
- Vodka or clear lemon extract: Evaporates fast, leaving just shine on the gold drip—vodka leaves no extra flavor.
- Rose petals, berries, or extra gold: Use for decoration if you want to create serious wow factor.
Tired of Takeout? 🥡
Get 10 meals you can make faster than delivery arrives. Seriously.
One email. No spam. Unsubscribe anytime.
Instructions
- Ready Your Workspace:
- Set oven to 350°F (175°C), grease and line three 8-inch pans, and let your eggs and buttermilk come up to room temperature—this helps everything blend like a dream.
- Combine the Dry Mix:
- Sift flour, sugar, baking soda, salt, and cocoa powder into a big bowl, letting the soft clouds fall as you go—no surprises later in the batter.
- Stir the Wet Ingredients:
- Whisk together oil, eggs, buttermilk, rosé wine, vanilla, and vinegar until the mix is satin-smooth with a hint of fizz from the wine.
- Bring It All Together:
- Pour the wet into the dry and gently mix, watching the batter turn a creamy blush—add enough gel coloring for your chosen shade of pink, but don’t overmix.
- Bake the Cakes:
- Evenly divide into pans and bake for 30–35 minutes; the tops will spring back and a tester should pull out clean.
- Cool and Unmold:
- Let cakes cool 10 minutes in the pans, then flip onto a rack to cool completely—the aroma now is wonderfully floral.
- Whip Up the Buttercream:
- Beat butter until it’s pillowy, add powdered sugar slowly, then splash in rosé, vanilla, and salt—keep beating until light and fluffy, adjusting with more sugar or wine for perfect texture.
- Assemble the Layers:
- Level the cooled cakes, spread generous buttercream between layers, crumb-coat the whole cake, chill briefly, then smother in a final thick, smooth layer.
- Create the Gold Drip:
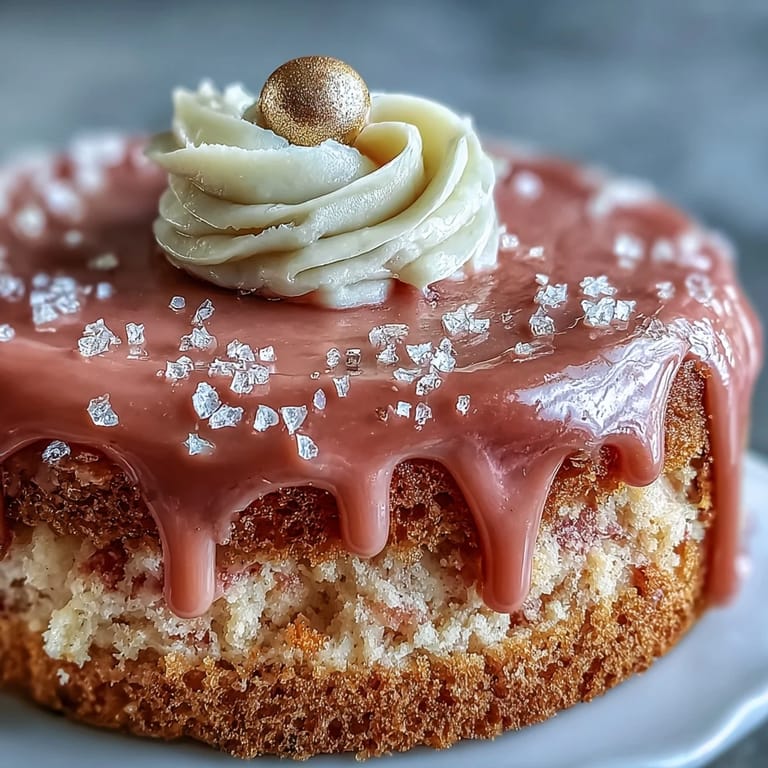
- Melt white chocolate chips with cream until glossy and cool slightly; drip gently over the edge of the cake, letting it cascade naturally for drama.
- Paint and Decorate:
- Mix edible gold dust with a hint of vodka or lemon extract, grab a clean brush, and paint gold onto the white chocolate drips; add petals or berries if you like.
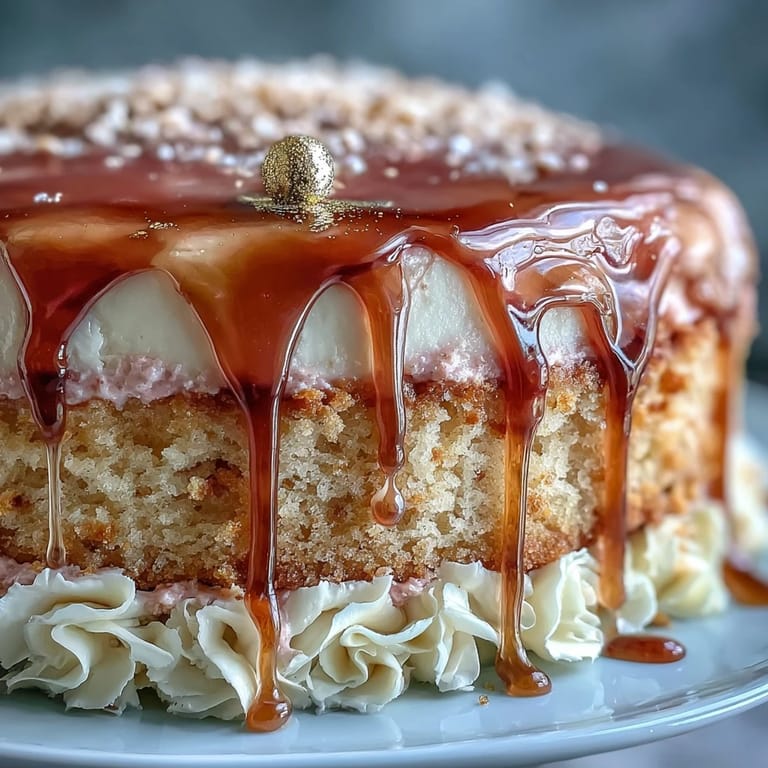 Pin it
 Watching everyone sneak another forkful during the party made me realize that cakes aren’t just for display—they’re a shared joy. The shimmer, the laughter, and that hint of rosé on the tongue felt like a little celebration woven into every crumb.
Decorating for Maximum Impact
Bringing out the edible gold paint always makes me giddy—it’s the final transformation that makes your creation truly sparkle. Resist the urge to overdo it; a few well-placed gold drips and accents hit the perfect balance between glam and approachable. I love layering faint rose petals and fresh raspberries to echo the cake’s color. Use a steady hand when painting the gold for crisp edges. Even imperfect brushstrokes add personality, like laughter lines at a great party.
Planning Ahead Without Stress
If you want to prep ahead, this cake is forgiving: bake cake layers a day in advance, wrap tightly, and leave buttercream for the day-of so flavors stay vibrant. I’ve even frozen layers (well wrapped) for last-minute surprises, and thawed at room temperature before assembling. Just remember to let the finished cake sit out for an hour or so to bring out the real creaminess. Having all decorations ready in little bowls helps keep things organized. The less frantic you are, the more fun the process feels.
Troubleshooting & Cake Confidence
A runny drip or streaky buttercream has tried to sabotage me before, but now I keep extra white chocolate and powdered sugar nearby for emergency repairs. If your drip is too thin, wait five minutes and try again—temperature changes everything. Nervous about stacking the cake? Use a long serrated knife and take it slow; practice makes perfect (and the taste stays amazing even if the layers are a bit wonky).
- Chill both cake and drip for 10 minutes before painting gold—they’ll set up beautifully.
- Clean paintbrushes with clear extract, not water, so colors don’t bleed.
- Let cake slices sit at room temp before serving—the flavor blooms so much more that way.
 Pin it
 May your Rosé Velvet Cake shine as brightly at your celebration as it does in your memory—raise a fork and enjoy, one shmmering bite at a time.
Recipe FAQs
- → Can I omit rosé or use a nonalcoholic substitute?
Yes. Swap rosé for a nonalcoholic rosé or a light fruit juice (white grape or pink lemonade) and adjust the liquid balance. If you need acidity, add a touch of vinegar or lemon to mimic brightness.
- → Will the alcohol bake out during baking?
Baking reduces most alcohol, but trace amounts can remain. For a truly alcohol-free approach, use a nonalcoholic substitute or extra buttermilk with a splash of vinegar for acidity.
- → How do I achieve a stable rosé buttercream?
Beat room-temperature butter until light, add sifted powdered sugar gradually, then fold in rosé and vanilla. Chill briefly if too soft; add more sugar to stiffen or a touch more rosé for spreading consistency.
- → What makes a successful gold drip that won’t flake off?
Use edible luster dust labeled for food, mixed with vodka or clear extract to form a paint. Ensure the white chocolate drip is set before painting and use thin layers of gold to avoid cracking.
- → How do I control the drip consistency so it doesn’t run too far?
Let the melted white chocolate cool until slightly thick but still pourable. Test on a chilled edge or spatula; it should hold a bead before dropping. Apply sparingly and chill between layers if needed.
- → Can this be made ahead and how should it be stored?
Yes. Bake layers a day ahead and wrap tightly. Assemble and chill overnight. Store finished cake refrigerated in an airtight container and bring to room temperature before serving for best texture.