 Pin it
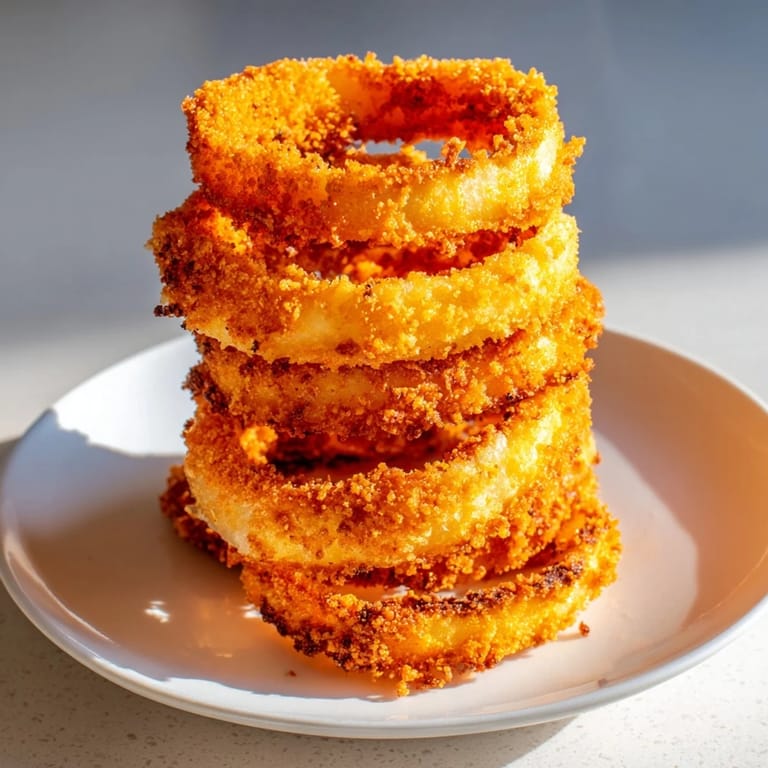
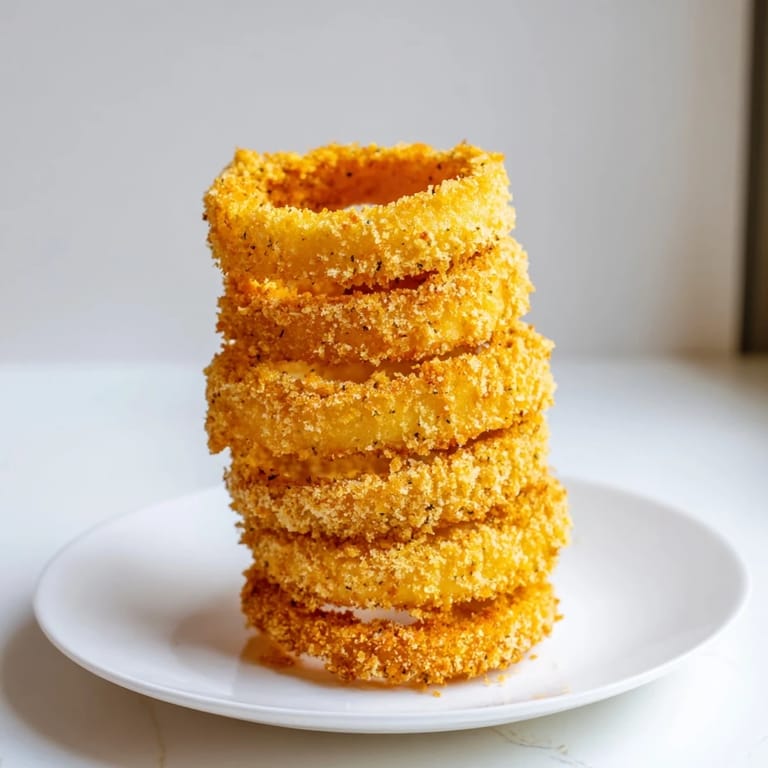
 My neighbor brought a tower of golden onion rings to a potluck once, and I watched them disappear faster than anything else on the table. That night, I decided I needed to master the art of making them myself. What I discovered was that the secret isn't just about the frying—it's about understanding how the batter clings, how the panko crisps, and why stacking them high makes everyone at the table lean in closer. Now whenever I make these, I feel like I'm creating something that's part snack, part spectacle.
I remember making these for the first time when my sister was visiting from out of state. She took one bite and laughed—not because something was wrong, but because she couldn't believe how good they were. We stood in the kitchen eating them straight from the cooling rack, dipping each one in different sauces, ranking them, debating whether ranch or spicy mayo was the real winner. It turned into one of those unplanned moments that felt like the whole reason she'd come to visit.
Ingredients
- 2 large yellow onions: Cut them thick—at least three-quarters of an inch—so the inside gets tender while the outside turns bronze and crispy, and they hold their shape when you stack them high.
- 1 cup all-purpose flour: The foundation of structure; it's what holds the batter together and keeps it clinging to each ring.
- ½ cup cornstarch: This is the secret ingredient that makes the coating light and impossibly crunchy instead of dense and heavy.
- 1 teaspoon baking powder: It creates tiny air pockets in the batter that fry up into little crispy bubbles—this is what gives you that shattering texture.
- 1 teaspoon smoked paprika: Adds a whisper of depth and color without overpowering the natural sweetness of the onion.
- 1 teaspoon garlic powder: A gentle savory note that makes people ask what's in these without being able to quite place it.
- 1 teaspoon salt and ½ teaspoon black pepper: Season generously because fried food needs more seasoning than you think it does.
- 1 cup cold sparkling water: The carbonation keeps the batter light and delicate; cold temperature matters too, so don't skip that detail.
- 2 large eggs: They bind everything together and add richness to the coating.
- 2 cups panko breadcrumbs: Use panko, not regular breadcrumbs—the larger flakes create a more dramatic, shattered crunch.
- Vegetable oil for frying: Keep it neutral so the stars remain the onion and the crispy coat surrounding it.
Tired of Takeout? 🥡
Get 10 meals you can make faster than delivery arrives. Seriously.
One email. No spam. Unsubscribe anytime.
Instructions
- Prep your onions with intention:
- Slice them thick—roughly three-quarters of an inch—then separate the rings gently so they stay whole and sturdy. Thicker rings won't fall apart in the oil and they give you more tender onion inside.
- Build the dry mixture:
- Whisk together your flour, cornstarch, baking powder, smoked paprika, garlic powder, salt, and pepper in a large bowl. Take a second to smell what you've made—that aroma is already telling you these will be good.
- Combine wet ingredients with care:
- Beat the eggs and sparkling water together until they're well blended, then add them to the dry mixture. Whisk gently until you have a smooth batter that coats a spoon but still drips—if it's too thick, splash in a bit more water.
- Set up your coating station:
- Put panko breadcrumbs in a shallow dish and have it ready next to your batter and onion rings. You're about to move fast, so having everything within arm's reach makes a difference.
- Coat each ring with precision:
- Dip a ring into the batter, let excess drip back into the bowl for a second, then roll it in panko until it's completely covered and looks shaggy and golden. This double coating is what creates those shattered, glass-like shards when you bite through.
- Deep-fry with control:
- Heat oil to 350°F in a heavy pot or deep fryer. Working in batches so you don't crowd the pan, slide in your rings and fry for 2 to 3 minutes, turning them occasionally with tongs. They'll sink, then float, then turn a rich golden brown—that's when you know they're done. Fish them out onto a wire rack to drain.
- Air-fry as an alternative:
- If you're using an air fryer, preheat it to 400°F, arrange rings in a single layer, spray them lightly with oil, and air-fry for 8 to 10 minutes, turning halfway through. You'll get more than 80 percent of the crunch with a fraction of the oil.
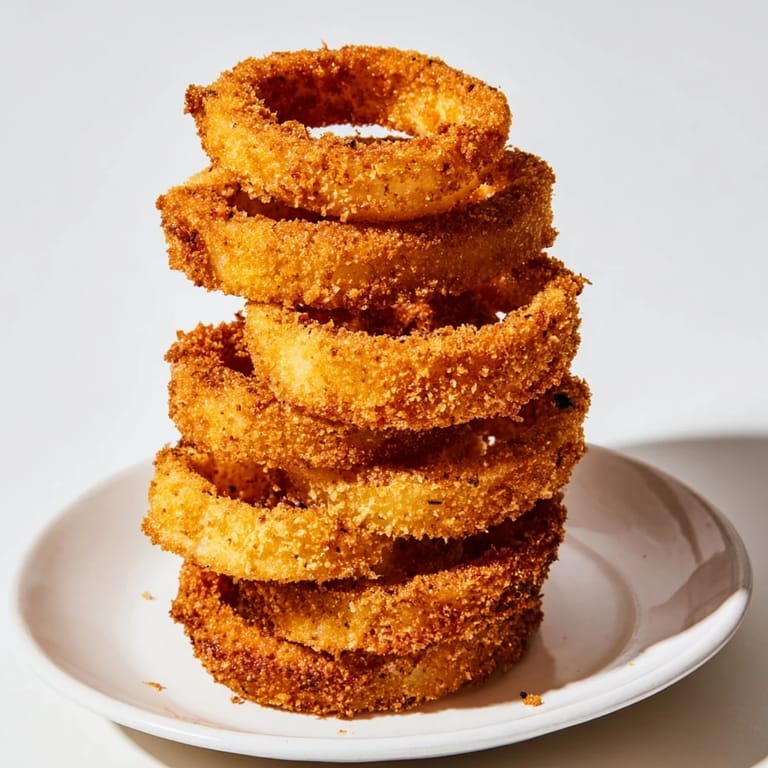
- Stack them into a tower:
- Arrange your warm rings on a serving platter in a standing tower, each one cradling the next. Serve immediately with your dipping sauces of choice and watch people's faces light up when they see it.
 Pin it
 There's something magical about the moment when you pull the first batch from the oil, steam rising, and you realize you've actually nailed it. Everything is hot, golden, and ready to eat, and suddenly you understand why onion rings are a beloved thing—they're a pure expression of heat and technique meeting a simple vegetable, and the result is greater than the sum of its parts.
The Science of Crunch
The panko is doing real work here. Those larger, coarser flakes of breadcrumb fry up differently than fine crumbs would—they create actual air gaps and edges that shatter when you bite into them. The cornstarch in the batter does something similar on a smaller scale, creating a matrix of tiny crispy bubbles. Combined with the baking powder, which adds even more lift, you end up with a coating that sounds like breaking glass when you bite through it. That's not an accident; that's chemistry and intention working together.
Dipping Sauce Strategy
A great onion ring deserves a sauce that complements rather than masks. Spicy mayo brings heat and creaminess. Ranch adds cooling richness. Classic ketchup lets the onion's sweetness shine through by contrast. If you're feeling adventurous, try mixing mayo with sriracha and a touch of lime juice, or whisking together mayo, hot sauce, and a tiny bit of honey for something both fiery and slightly sweet. The rings are sturdy enough to handle bold flavors.
Keeping Them Hot and Perfect
If you're making a big batch and frying in stages, transfer finished rings to a wire rack set inside a 200°F oven. They'll stay warm without steaming and turning soggy, and the ambient heat keeps them crisp while you finish the remaining batches. This technique saved me at a party once when I was nervous about timing—instead of worrying about cold food, I could relax knowing everything would come to the table warm and ready.
- Always work in batches; crowding the oil lowers the temperature and ruins the crust.
- A wire rack beats paper towels for draining because it lets air circulate underneath, preventing steam buildup.
- Serve these within minutes of finishing the last batch—they're best eaten while they still have that immediate, shattering crunch.
 Pin it
 Making these onion rings is about creating something that feels festive and showstopping but is honestly just about respecting simple ingredients and understanding how heat transforms them. Every time I make a tower, someone reaches for one first, and that moment of connection over something you created with your own hands—that's the real reason to make them.
Recipe FAQs
- → What type of onions work best for this dish?
Large yellow onions are ideal due to their sweetness and ability to hold thick slices without breaking apart.
- → How can I achieve a crispy coating?
Using a batter made with flour, cornstarch, and seasoning, along with panko breadcrumbs, helps create a crunchy texture after frying.
- → Is air-frying an effective alternative to deep-frying?
Yes, air-frying at 400°F for 8–10 minutes yields crispy onion rings with less oil while maintaining great flavor and texture.
- → What spices enhance the flavor of the batter?
Smoked paprika, garlic powder, salt, and black pepper add depth and a subtle smoky kick to the batter.
- → How do I keep the rings crispy when serving multiple batches?
Place cooked rings on a wire rack in a warm 200°F oven to maintain crispness without becoming soggy.
- → Can I add extra flavor to the breadcrumb coating?
Yes, mixing in grated Parmesan or cayenne pepper into the panko breadcrumbs adds extra zing and richness.