 Pin it
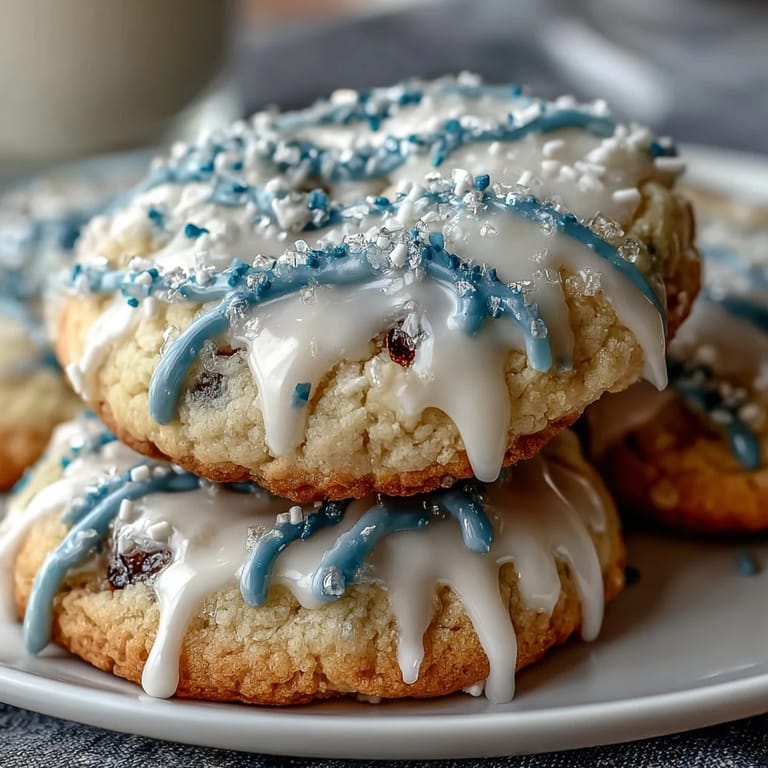
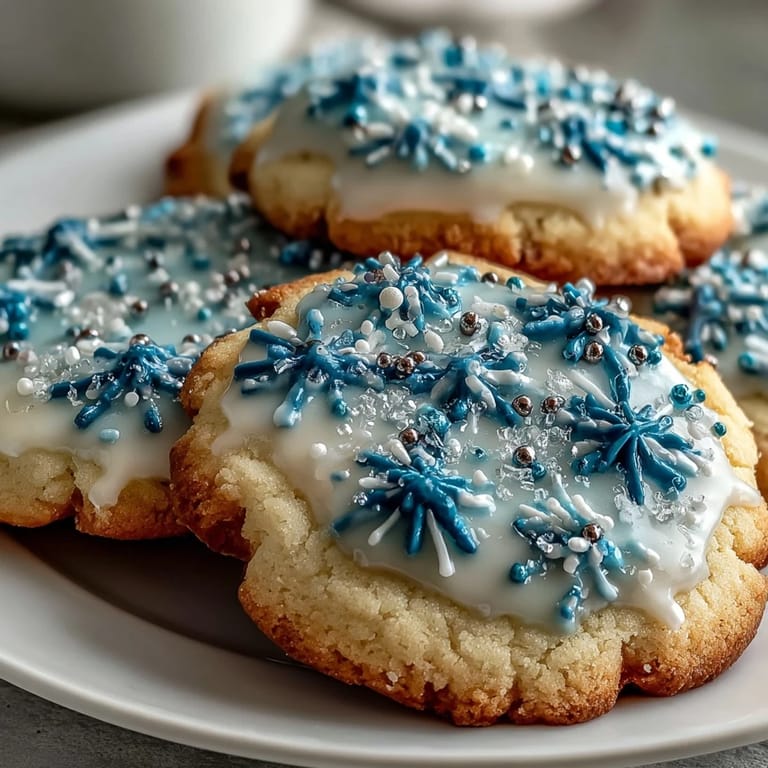
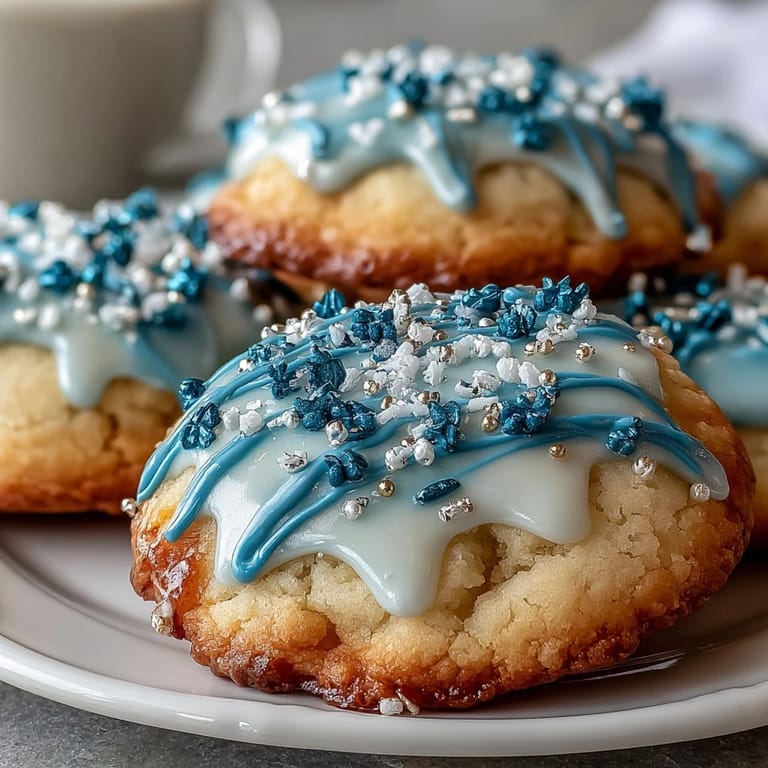
 My friend texted me a photo of Pure Vanilla Cookie from Cookie Run Kingdom at midnight, asking if I could recreate those pristine, glossy cookies for her daughter's birthday party. I'd never attempted decorated cookies before, but something about that elegant design with its soft blue and gold icing made me want to try. Three hours later, my kitchen smelled like vanilla and butter, and I was piping delicate patterns onto cookies that actually looked like they belonged in a game. It turns out there's a reason people get obsessed with royal icing—there's something magical about watching a simple sugar cookie transform into edible art.
I remember standing in my kitchen at 9 PM, surrounded by cooling cookies and bowls of tinted icing, when my partner walked in and watched me pipe tiny gold swirls onto a blue-frosted cookie. "That's ridiculous," they said, but then ate three in a row. The next morning, I boxed up two dozen cookies in a clear container, and when I handed them to my friend, she actually gasped—not because they tasted amazing (though they do), but because they looked like something from a bakery. That's when I realized these weren't just cookies anymore; they were tiny edible gifts that made someone genuinely happy.
Ingredients
- All-purpose flour: The foundation of a tender cookie; measure by spooning and leveling rather than scooping directly from the bag to avoid dense dough.
- Baking powder: Just enough to give the cookies a delicate rise without making them cakey—don't skip the sifting step.
- Unsalted butter: Room temperature is non-negotiable; cold butter won't cream properly and your dough will be grainy instead of light.
- Granulated sugar: This is what creates that slightly crispy exterior while keeping the inside tender.
- Egg and vanilla extract: The egg binds everything while the vanilla (and I mean pure vanilla, not imitation) is what makes people close their eyes when they taste these.
- Powdered sugar and meringue powder: Meringue powder stabilizes the icing so it dries hard and glossy instead of staying sticky; this is the secret to stackable cookies.
- Gel food coloring: Use gel, not liquid, because liquid food coloring breaks down the icing consistency—I learned this the messy way.
Tired of Takeout? 🥡
Get 10 meals you can make faster than delivery arrives. Seriously.
One email. No spam. Unsubscribe anytime.
Instructions
- Mix the dry ingredients first:
- Whisk together the flour, baking powder, and salt in a bowl and set it aside; this ensures the leavening is evenly distributed throughout.
- Cream the butter and sugar:
- Beat them together for a full 2–3 minutes until the mixture looks pale and fluffy, like fluffy clouds—this incorporates air that makes the cookies tender. Don't rush this step.
- Add the wet ingredients:
- Mix in the egg, vanilla, and milk, scraping down the bowl between additions to make sure everything is evenly combined.
- Bring the dough together:
- Gradually add the dry ingredients to the wet mixture, mixing just until the dough comes together; overworking develops gluten and makes tough cookies.
- Chill the dough:
- Divide the dough into two disks, wrap tightly in plastic, and refrigerate for at least an hour—this makes the dough easier to roll and helps the cookies hold their shape. If you're short on time, 45 minutes works in a pinch.
- Roll and cut:
- On a lightly floured surface, roll the dough to 1/4-inch thickness and cut into whatever shapes call to you; keep your cookies roughly the same size so they bake evenly.
- Bake with intention:
- Space them an inch apart on parchment paper and bake at 350°F for 10–12 minutes until just the edges begin to turn golden—the centers will look slightly underbaked but will firm up as they cool. This is what keeps them tender.
- Cool properly:
- Leave them on the baking sheet for 5 minutes to set, then transfer to a wire rack so air can circulate underneath and they don't get soggy.
- Make the royal icing:
- Combine powdered sugar, meringue powder, vanilla, and 4 tablespoons of warm water, then beat on low speed until smooth and glossy. Add more water a teaspoon at a time if you need a thinner consistency for piping.
- Tint and decorate:
- Divide the icing into bowls and add gel food coloring drop by drop—you can always add more color but you can't remove it. Pipe or drizzle onto completely cooled cookies and let the icing set for several hours before stacking or storing.
 Pin it
 There's a moment that happens every time I make these cookies when someone walks into the kitchen, sees the finished batch displayed on the counter, and stops mid-conversation. They're not just desserts; they're small pieces of intentionality that prove you cared enough to spend an evening creating something beautiful. That's the moment when baking stops being about following directions and becomes about connection.
Why These Cookies Feel Special
Sugar cookies on their own are simple—butter, sugar, vanilla, a bit of flour—but they're also a blank canvas waiting for whatever story you want to tell. These cookies, decorated in Pure Vanilla Cookie's signature blues and golds, become more than just a treat; they become a conversation starter, a nod to something someone loves, a reason to gather around a table. The royal icing transforms them from homey to elegant, which sounds dramatic but it's true—the glossy finish catches the light and makes even an imperfectly piped cookie look intentional.
Storage and Gifting Magic
Because the royal icing hardens completely, these cookies are one of the few you can actually stack without everything sliding into a sticky mess. I've packed them three layers deep in clear containers with tissue paper in between, and they arrive looking like they were professionally boxed. Room temperature storage in an airtight container keeps them fresh for up to a week, though they rarely last that long once people know they exist.
Making Them Your Own
The beauty of this recipe is that while it's inspired by Pure Vanilla Cookie, your version is completely yours to customize. The dough stays consistent, but the decoration is where your personality shows—whether that's precise geometric patterns, watercolor-style gradients, or chaotic sprinkles of gold dust. I've made these cookies in pastel pink and white for baby showers, deep purple for Halloween, and soft pastels for spring, and each batch felt distinct because of the icing choices.
- Experiment with different gel food coloring brands because some are more vibrant or concentrated than others.
- Practice your icing consistency on parchment paper first so you know exactly how thick or thin to make it for your piping style.
- Let the icing set in a cool room away from humidity, or it'll stay tacky and never fully harden.
 Pin it
 These cookies are proof that sometimes the most rewarding kitchen projects are the ones where you care more about who you're making them for than whether they're perfect. Make them, decorate them, and watch someone's face light up when they see them.
Recipe FAQs
- → How do I achieve a soft texture in vanilla sugar cookies?
Chilling the dough for at least an hour before baking helps control spread, resulting in tender, soft cookies with a nice crumb.
- → What is the purpose of royal icing on these cookies?
Royal icing provides a smooth, glossy surface that hardens, allowing for detailed decoration and making cookies stackable for gifting.
- → Can I use different colors for the royal icing?
Yes, gel food coloring can be added to royal icing to create a variety of colors, enhancing decorative possibilities.
- → What baking temperature and time are best for these sugar cookies?
Bake at 350°F (175°C) for 10 to 12 minutes until edges turn lightly golden for perfect texture and flavor.
- → How should I store the decorated cookies to maintain freshness?
Store in an airtight container at room temperature for up to one week to keep them fresh and the icing intact.
- → Are these cookies suitable for vegetarians?
Yes, the ingredients used, including butter and egg, align with vegetarian dietary preferences.