 Pin it
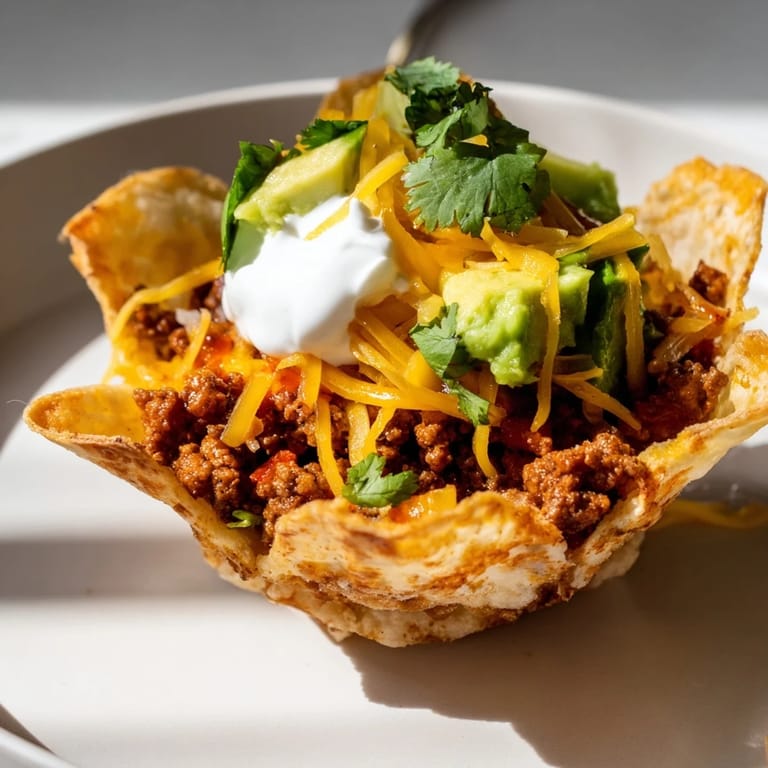
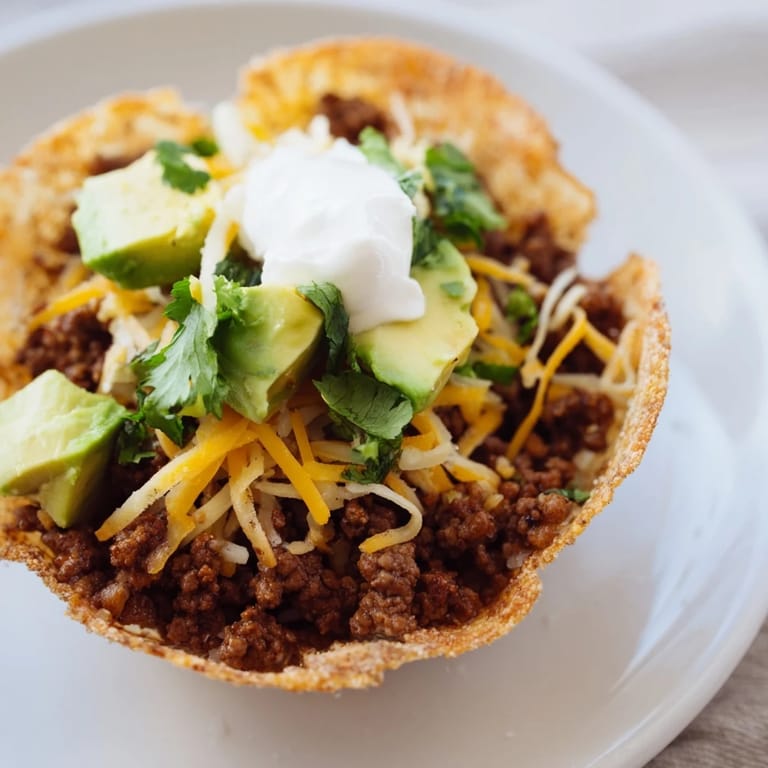
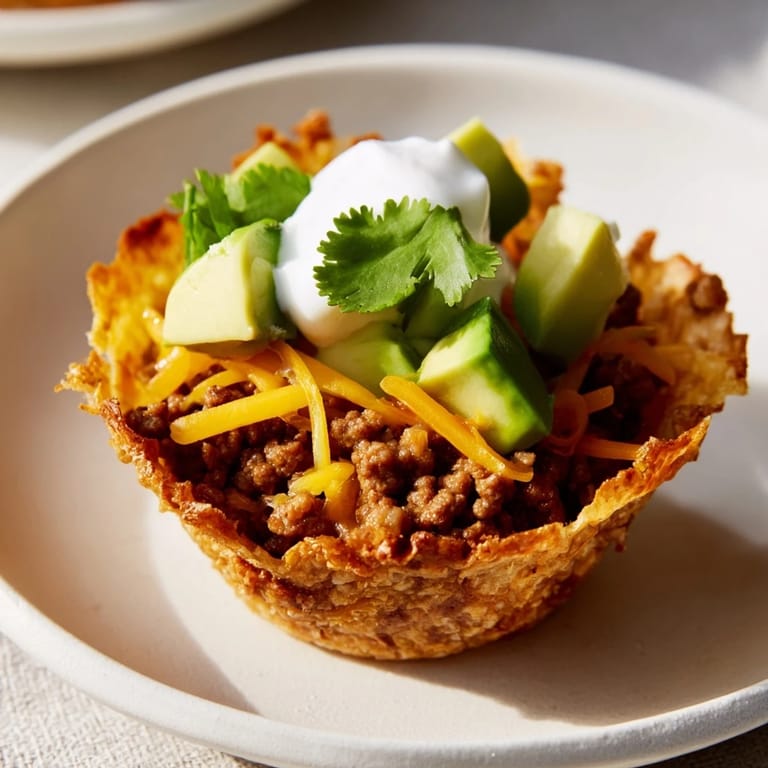
 I discovered these little taco cups by accident on a Thursday night when my usual dinner plan fell through. With hungry kids and a muffin tin staring at me from the cabinet, I grabbed tortillas and the last of the ground beef, thinking I could improvise something crispy and contained. What emerged from the oven was pure magic—golden, crunchy vessels that held everything people love about tacos but in a form that actually stayed in your hands. Now they're my secret weapon whenever I need something that feels special but takes barely longer than ordering takeout.
I remember making these for a casual potluck last summer, nervous because I was bringing something so simple next to elaborate dishes everyone else had prepared. Within ten minutes, half the platter was gone, and I spent the rest of the evening writing down the recipe for people who wanted to recreate them at home. That's when I realized these cups weren't just convenient—they had real charm, the kind that makes people actually remember what you brought.
Ingredients
- Ground beef: Use 90/10 or 85/15 for the best balance of flavor and texture without excess grease pooling in your cups.
- Onion and garlic: Mincing them finely ensures they cook completely and distribute evenly through the filling.
- Chili powder, cumin, and paprika: These three create the soul of the filling; don't skip any of them, and toast them briefly in the pan for deeper flavor.
- Flour tortillas: Street taco size works perfectly, but if you only have large tortillas, a 10-cm round cutter keeps things consistent.
- Cheddar and Monterey Jack cheese: The combination gives you sharp flavor from cheddar and creaminess from Monterey Jack; they melt differently and that contrast is worth it.
- Toppings: Fresh toppings should go on after baking so they stay crisp and bright—timing matters more than you'd think.
Tired of Takeout? 🥡
Get 10 meals you can make faster than delivery arrives. Seriously.
One email. No spam. Unsubscribe anytime.
Instructions
- Heat your oven and prepare:
- Preheat to 200°C (400°F) and lightly grease your muffin tin with cooking spray or oil. If your tortillas are very dry or cracked, lay them under a damp towel for a minute so they bend without splitting.
- Build the filling foundation:
- Heat your skillet over medium heat and crumble the ground beef as it cooks, breaking it into small pieces with the back of your spoon. You want fine, browned crumbles, not chunky pieces—this takes about 4 to 5 minutes and you'll know it's done when there's no pink remaining.
- Layer in aromatics and spices:
- Add your minced onion and cook for 2 minutes, stirring occasionally, until it softens and becomes slightly translucent. Stir in the garlic for just 30 seconds so it releases its aroma but doesn't burn, then add all your spices at once and cook everything together for 1 more minute to wake them up.
- Form your tortilla cups:
- Take each tortilla round and gently press it into a muffin cup, folding and tucking the edges to create a cup shape. Work quickly but gently—tortillas are forgiving but will crack if you're rough, and it's okay if the fit isn't perfect since the beef will hold everything together.
- Fill and cheese:
- Divide your warm beef mixture evenly among the cups, pressing it in gently, then sprinkle both cheeses over each one. The mixture should fill each cup about three-quarters full so the cheese melts without overflowing.
- Bake until crispy:
- Slide the tin into your oven and bake for 10 to 12 minutes, watching for the tortilla edges to turn golden and the cheese to bubble at the edges. You'll smell the magic happening in the last few minutes.
- Cool, top, and serve:
- Let the cups cool for 3 to 5 minutes in the tin so they set enough to handle, then add your fresh toppings just before serving. The slight cooling time also lets the cheese set so it doesn't slide off when you pick up a cup.
 Pin it
 My daughter once ate four of these in a row at lunch without complaint, and for a kid who normally picks at food, that felt like a parenting victory. It wasn't just that they tasted good—it was that they felt like something she could control, customize, and own. Food changes when people feel invited to make it their own.
Why These Work for Different Occasions
For weeknight dinners, you're done in 35 minutes from start to table, and the cups feel substantial enough to be a real meal without the heaviness of a full-size taco. For parties, they're sophisticated enough to impress but casual enough that guests relax, and because they're bite-sized, people naturally eat them without feeling like they're committing to a whole dinner. The same recipe works as a crowd-pleasing appetizer or a main course depending on who you're feeding and what else is on the table.
Building Your Own Flavor Profile
The spice blend in the basic recipe is gentle and crowd-friendly, which is perfect if you're cooking for uncertain palates or young kids. But this filling is honestly a canvas—if your crowd loves heat, add cayenne or fresh jalapeños to the meat mixture itself. If you prefer deeper, smokier flavors, increase the paprika and add a pinch of smoked paprika. I've made versions with chipotle powder, with lime zest mixed in just before filling the cups, with a splash of hot sauce stirred into the beef. The tortilla cup structure stays the same; what changes is entirely in how you season the beef, so you can adjust without rebuilding the whole recipe.
Storage and Make-Ahead Ideas
You can brown the beef and season it up to two days ahead, storing it covered in the refrigerator and reheating gently before filling the cups. The baked cups themselves stay crisp for about four hours at room temperature if covered loosely, or you can freeze the cooled, unfilled tortilla cups for up to two weeks and just reheat them in a 180°C oven for 5 minutes before filling and topping. I've also frozen the whole assembled cups (after filling, before baking) and baked them straight from frozen—just add 3 to 4 extra minutes to the bake time and watch for cheese bubbling at the edges.
- Make the beef filling the morning of your gathering so you only have assembly and baking left.
- Toast your tortillas lightly in a dry pan before pressing them into the tin if they seem stiff or likely to crack.
- Set up a toppings station so guests can customize, which always makes people happier with their food.
 Pin it
 These cups somehow managed to become a regular in my rotation without being something I plan around—they just fit seamlessly into the nights when I want something that feels made-from-scratch but doesn't demand hours of attention. They're reliable, they're delicious, and they've become the thing people actually ask me to make.
Recipe FAQs
- → How do I prevent the tortilla cups from getting soggy?
Use a light coating of oil or cooking spray on the muffin tin and bake until the edges turn golden and crisp. This creates a sturdy shell to hold fillings.
- → Can I use other meats besides ground beef?
Absolutely! Ground turkey or chicken work well. For a vegetarian option, black beans or lentils can be used as a filling base.
- → What cheeses work best for melting inside the cups?
Cheddar and Monterey Jack cheeses provide a creamy, melty texture with good flavor that complements the seasoning.
- → Are there tips for shaping the tortillas into cups?
Press tortilla rounds gently into the muffin tin cups, folding the edges as needed to hold the shape without tearing.
- → What toppings enhance these mini cups?
Fresh salsa, diced avocado, sour cream, chopped cilantro, tomato, and jalapeño slices add freshness and a kick to contrast the savory filling.