 Pin it
 The scent of cinnamon swirling through my kitchen on weekend mornings is practically a ritual in our home. I stumbled upon this pillow-soft cinnamon roll recipe during a snowstorm when we were stuck indoors with a pantry full of basics and a craving for comfort. With flour-dusted hands and the heater humming in the background, I experimented until the dough felt just right – pillowy and yielding between my fingers. The first batch disappeared so quickly my husband asked if I'd hidden some for later.
Last Christmas morning, I woke up early to prepare these while everyone was still asleep. My sister walked into the kitchen just as I was rolling the dough, and without a word, she grabbed a coffee and sat at the counter to watch the process unfold. We barely spoke as I worked the dough, but when the house filled with that unmistakable aroma, my normally stoic brother-in-law appeared in his pajamas asking if he could lick the glaze bowl. Some traditions start accidentally, and now my family requests these cinnamon rolls before they even take their coats off when visiting.
Ingredients
- Active dry yeast: Think of this as the magic that transforms your dough from dense to dreamy – I learned to check the expiration date after once producing what my son called bread rocks instead of rolls.
- Warm milk: The temperature really matters here, and after burning out my yeast multiple times, I now use the inside-wrist test – it should feel like comfortable bath water.
- Unsalted butter: Using unsalted gives you complete control over the flavor profile, something my grandmother insisted upon when she watched me make these and gently took the salted butter from my hands.
- Ground cinnamon: Splurge on the good stuff here – I once used cinnamon that had been in my cabinet for three years and the difference with fresh was night and day.
- Cream cheese: Full-fat creates that luxurious mouthfeel that makes these rolls special – I tried reduced-fat once and my daughter immediately knew something was different.
Tired of Takeout? 🥡
Get 10 meals you can make faster than delivery arrives. Seriously.
One email. No spam. Unsubscribe anytime.
Instructions
- Wake up your yeast:
- Combine the warm milk, a tablespoon of sugar, and yeast in a large bowl, then watch for the frothy bloom that tells you your yeast is alive and ready to work its magic. The sweet smell reminds me of bread bakeries and possibility.
- Create your cloud-like dough:
- Mix in your remaining sugar, melted butter, eggs, and salt until combined, then gradually incorporate the flour until you have a soft dough. Your hands will know when it feels right – tacky but not sticky, like the consistency of an earlobe.
- First rise excitement:
- After kneading the dough until smooth and elastic, place it in a greased bowl, cover, and let it rise until doubled in size. This is the perfect time to enjoy a cup of coffee and the anticipation building in your kitchen.
- Roll with confidence:
- On a lightly floured surface, roll the dough into a 16x12-inch rectangle, trying to maintain even thickness throughout. I find humming while rolling creates a meditative rhythm that results in more even dough.
- Create the swirls of joy:
- Spread that soft butter over your dough canvas, then sprinkle with your cinnamon-sugar mixture right to the edges. Starting from a long edge, roll the dough tightly, using your fingertips to maintain tension as you go.
- Slice and nestle:
- Cut your log into 12 equal pieces using dental floss or a sharp knife, then arrange them in your greased baking dish. I like to place them just barely touching, giving them room to expand into each other as they rise.
- Second rise patience:
- Cover your rolls and let them rise again until nearly doubled, watching as they slowly fill the empty spaces in the pan. The anticipation at this stage is almost as delicious as the rolls themselves.
- Bake to golden perfection:
- Slide your rolls into a preheated oven and bake until they turn that enticing golden brown color. The aroma that fills your home during these 22-25 minutes is better than any candle ever created.
- Whip up the dreamy glaze:
- While your rolls bake, beat together cream cheese, butter, powdered sugar, vanilla, and just enough milk to create a spreadable consistency. Dipping a fingertip to taste-test is mandatory kitchen protocol in my house.
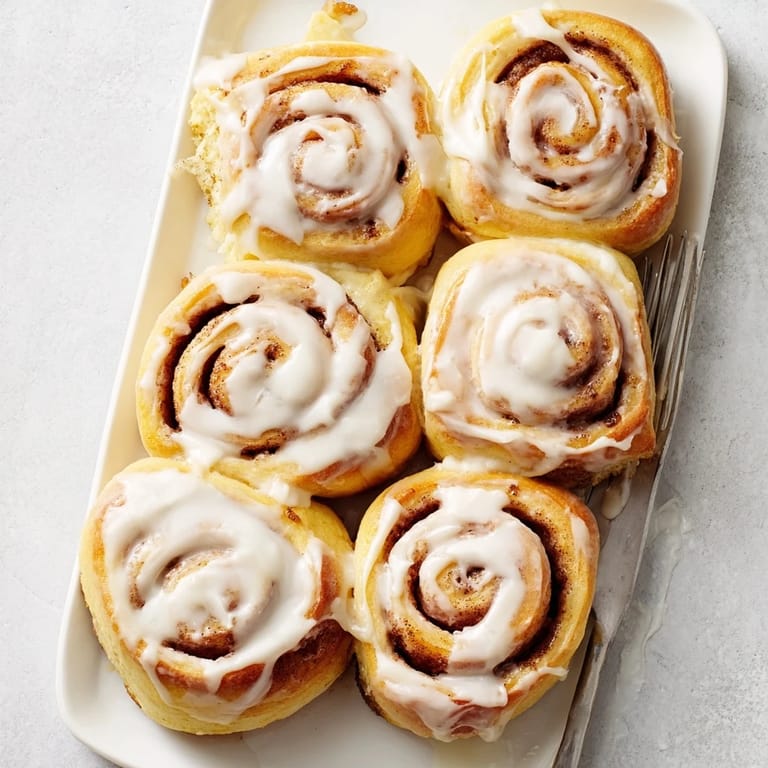
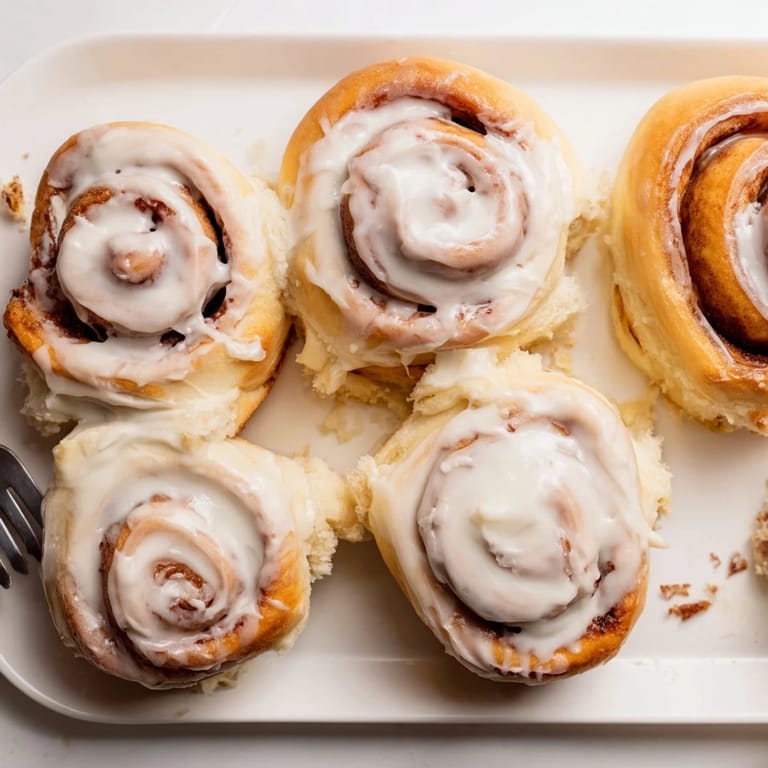
- The grand finale:
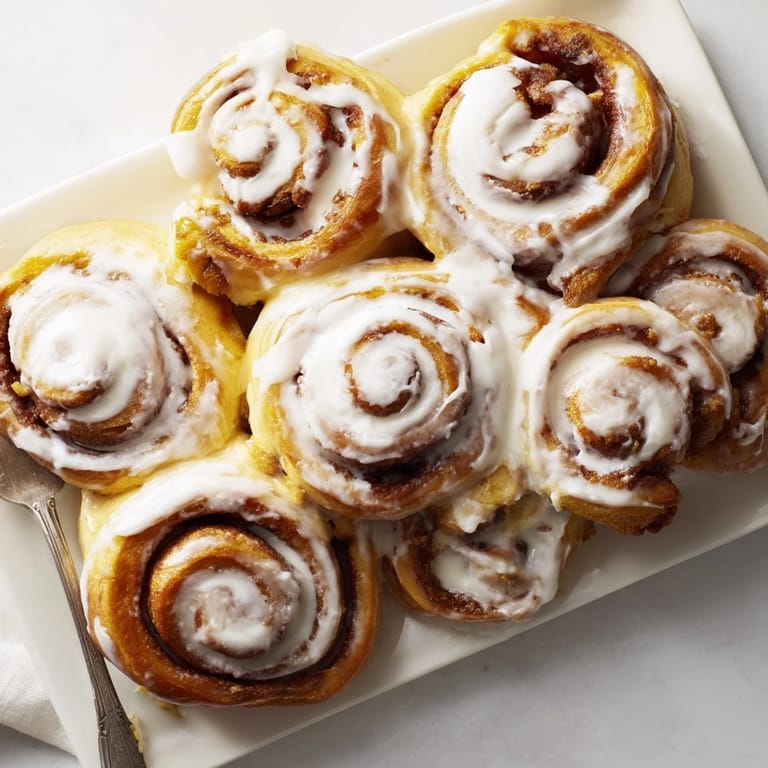
- After cooling the rolls just briefly, spread your glaze generously over their warm tops, watching as it melts slightly into the crevices. Resist the urge to dive in immediately – that ten-minute cooling period makes all the difference in texture.
 Pin it
 One rainy Sunday afternoon, my teenage nephew who rarely shows interest in anything not on a screen wandered into the kitchen as I was rolling out the dough for these cinnamon rolls. Without prompting, he asked if he could help, and I showed him how to spread the filling and roll the dough. As we worked side by side, he started telling me about school troubles he'd been having. By the time the rolls were in the oven, we'd had the best conversation we'd shared in years, and now whenever he visits, he asks if we can make cinnamon rolls together – not just for the treats but for the talking time.
Making Ahead and Storage Tips
The beauty of these cinnamon rolls revealed itself to me during a particularly chaotic family gathering when I needed to prepare everything in advance. I discovered that after shaping the rolls and placing them in the baking dish, I could cover them tightly and refrigerate overnight. The slow, cold rise actually developed a deeper flavor profile that my husband now prefers to the same-day version. Just remember to allow about an hour for them to come to room temperature and complete their final rise before baking.
Troubleshooting Your Rolls
The winter I was testing this recipe coincided with a particularly dry spell in our home heating system, and my dough kept turning out denser than desired. After some kitchen detective work, I realized humidity plays a crucial role in bread-making. Now I place a small dish of water in the oven during the rising phase on dry days, creating a makeshift proof box that gives me consistent results regardless of the weather outside. The difference was so dramatic my daughter asked if I had changed the recipe entirely.
Creative Variations
These rolls became my canvas for seasonal creativity when a friend challenged me to bring something different to each monthly book club meeting. In autumn, I added diced apples and a touch of nutmeg to the filling, while winter saw the addition of orange zest and a splash of bourbon in the glaze. Spring inspired a lemon-blueberry version that had everyone requesting the recipe, and summer brought about a surprise hit with cardamom and pistachios that transported us to a faraway cafe.
- For a quick shortcut when time is tight, prepare the dough through the first rise, then refrigerate it overnight – the slow fermentation actually enhances the flavor complexity.
- When serving a crowd with diverse preferences, consider making half with traditional cinnamon filling and half with a less sweet alternative like a blend of nuts, dried fruit, and just a touch of brown sugar.
- Leftover rolls can be individually wrapped and frozen, then microwaved for 20-30 seconds for an almost fresh-baked experience even weeks later.
 Pin it
 These pillowy cinnamon rolls have taught me that the most meaningful recipes aren't just about combining ingredients, but about creating moments that linger long after the plates are clean. Whether it's a quiet morning alone with coffee or a house full of morning-tousled loved ones, there's something about homemade rolls that says you've set aside time for what truly matters.
Recipe FAQs
- → How do I know when the dough has risen enough?
The dough should double in size during the first rise, which typically takes about 1 hour in a warm environment. You can test by gently pressing two fingers into the dough—if the indentation remains, it's ready.
- → Can I make these cinnamon rolls ahead of time?
Yes, after shaping and placing the rolls in the baking dish, cover tightly and refrigerate overnight. The next morning, let them sit at room temperature for about 1 hour to rise before baking.
- → Why are my cinnamon rolls not fluffy?
Common issues include using water that's too hot (which kills the yeast), not kneading enough, or insufficient rising time. Ensure your milk is around 110°F and allow proper rising in a warm, draft-free location.
- → What's the best way to slice the rolls evenly?
Use unflavored dental floss or thread. Slide it under the rolled dough, cross the ends over the top, and pull tight to slice cleanly through without squishing the dough.
- → Can I freeze cinnamon rolls?
Absolutely. Freeze baked rolls without glaze for up to 2 months. Thaw at room temperature, warm in the oven, then add fresh glaze before serving.
- → How should I store leftover cinnamon rolls?
Store in an airtight container at room temperature for up to 2 days, or refrigerate for up to 5 days. Reheat individual rolls in the microwave for 15-20 seconds.